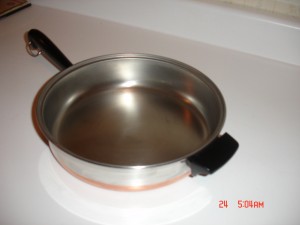
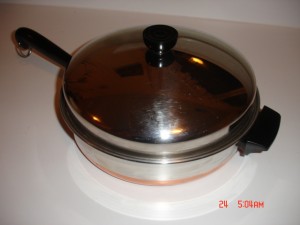
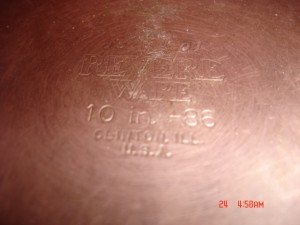
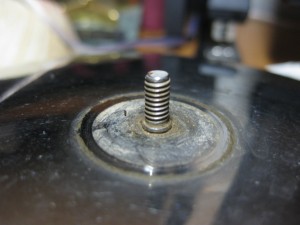
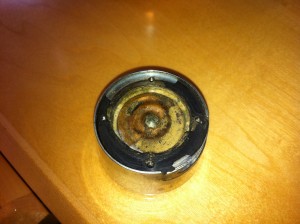
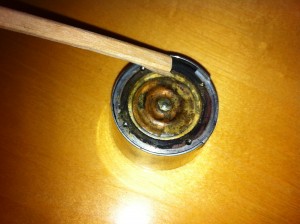
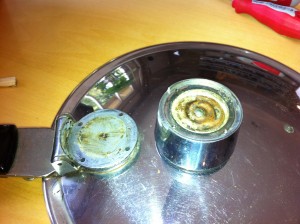
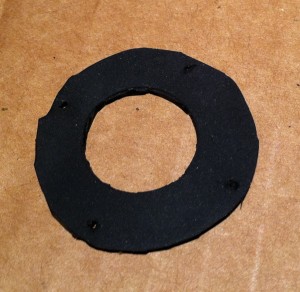
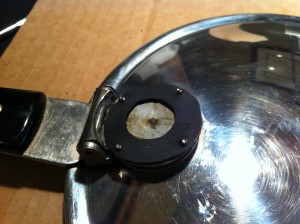
A customer recently send us these photos of a skillet with extra handle and domed lid, wondering what the official name for this piece of cookware is. If you know what this is called, please let us know in the comments or email us here.
Photo guide to Revere Ware products
When I first became interested in Revere Ware and started looking for replacement parts (which led me to start this business), a guy named Charlie Anjard ran The Shine Shop, a business that restored cookware to almost new. Charlie was extremely helpful and always willing to answer the odd question. He has unfortunately closed his business due to health reasons, but in the time Charlie ran his business, he was very active in tracking down the history of the Revere Ware company and the geneology of their products, and he compiled all his work in what he called the Revere Info Center. It wouldn’t be a stretch to say that most of what we know about the history or Revere Ware’s products is due to Charlie’s work.
Unfortunately Charlie’s original site is offline now, but we archived a copy which you can find here. One of the most helpful pages is the photo guide to Revere products over the years.
Is Revere Ware collectible?
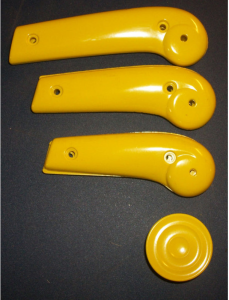
I occasionally see some colored Revere Ware handles and knobs on Ebay and they typically sell for slightly above what you might pay for our black replacement Bakelite parts. But this recent auction for yellow handles and knobs really has me scratching my head.
Selling for a whopping $362, I can’t imagine why these parts were considered so valuable by several different bidders. Certainly colored parts are rare, but is it really worth almost $400 to have colored Bakelite handles on some of your Revere Ware cookware?
There is another set listed as well.
Revere Ware model 1574 & 1576 weights
We’ve had a rash of emails from people looking for replacement weights for their 1970’s era Revere Ware pressure cookers that look like this:
(You can find all of our accumulated information for this model here.)
These pressure cookers use a weight similar in shape and size to a standard Revere Ware lid knob to regulate the pressure which was alternately called the “pressure control regulator” or the “pressure control knob.” While I seem to recall that different weighted control knobs were available that were calibrated to different pressures, our manual for these pressure cookers indicates only a single weight that is calibrated for 17 1/2 lbs of pressure.
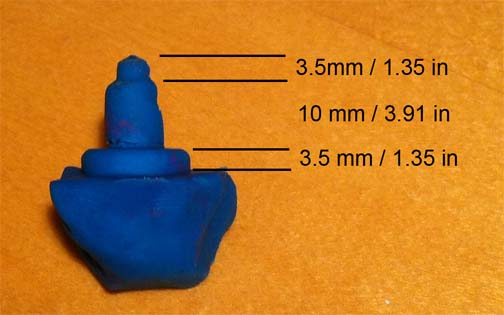
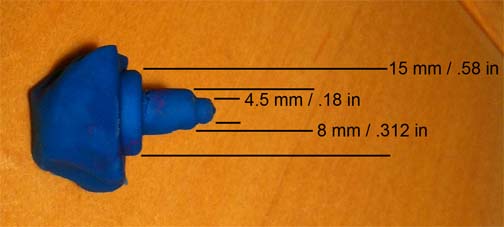
If you are unlucky enough to lose your pressure control knob, your pressure cooker is good as a doorstop, not much else, as replacements aren’t available anywhere we are aware of. For the enterprising DIYer that might want to make or have a replacement made, here are the important dimensions of the part:
Weight: 6.1 oz
Material: Brass
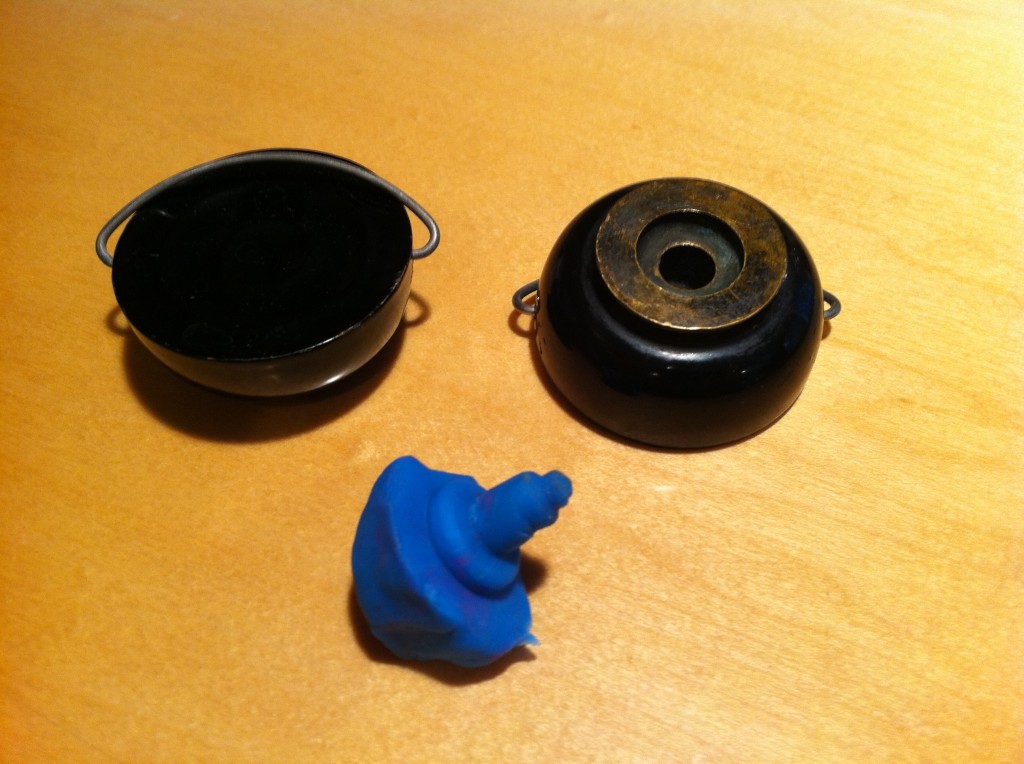
The inside of the hole is a very specific shape, shown here thanks to Playdoh.
The diameter of the largest part of the weight is 1.75 in or 44 mm.
Please let us know (and send us pictures) if you’ve successfully made your own replacement.
Vintage double struck stamp
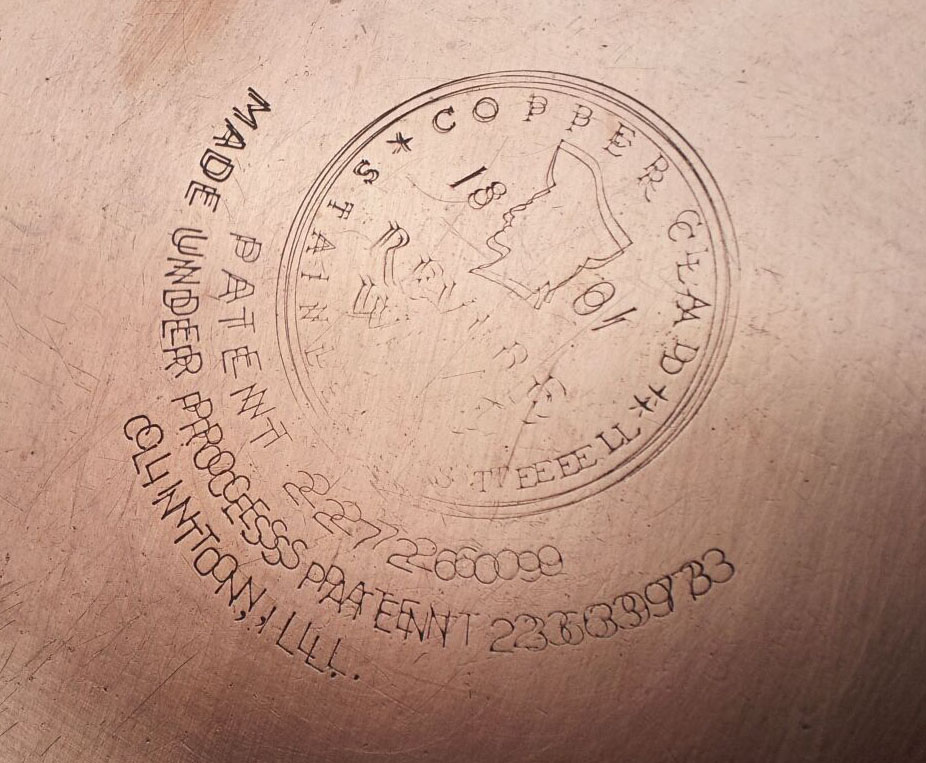
A customer sent us this photo. It is the first time I’ve seen a double imprint of the vintage Revere Ware process patent stamp on the bottom of a piece of cookware.
Update 6/20/16: We’ve since seen some auctions for double-struck stamp pieces. This seems to indicate the value for pieces like this is relatively low, at least in the eyes of the sellers. These pieces tend to list for about that much even without the double-struck stamp.
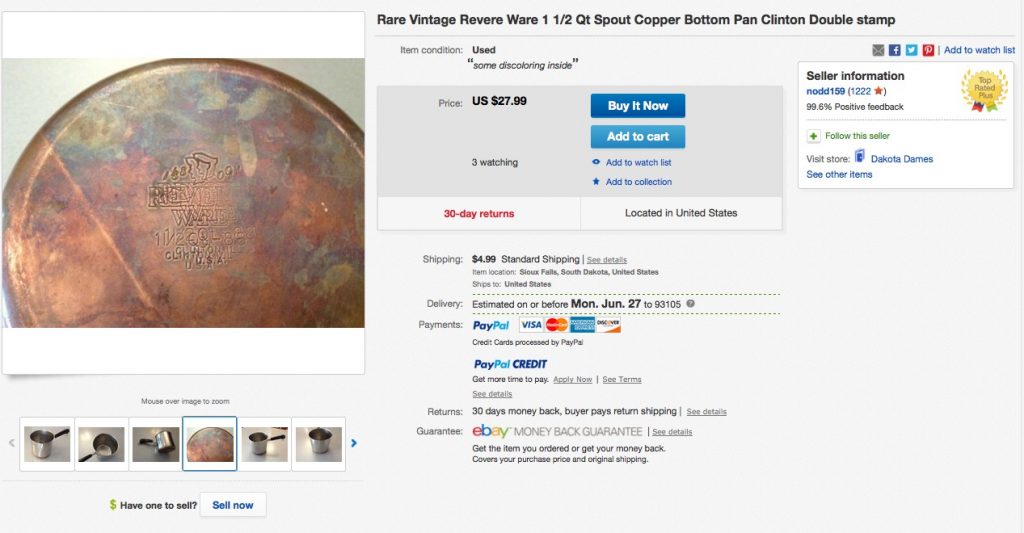
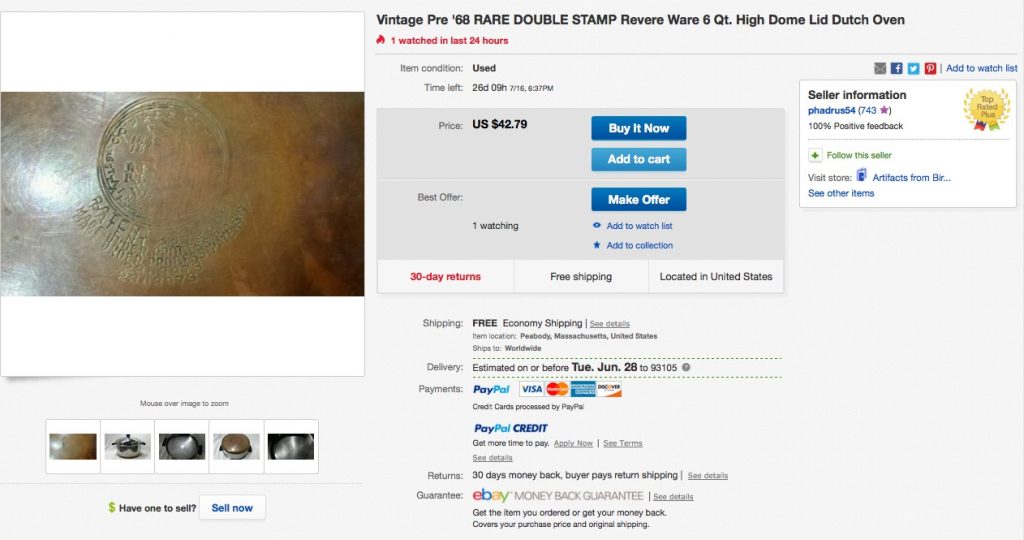
Ebay gets more sophisticated, makes Revere Ware easier to find
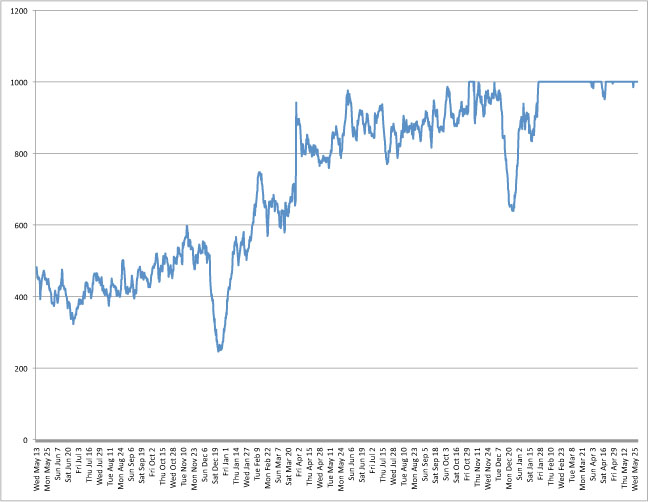
It is hard to be a Revere Ware fan and miss Ebay as probably the best place to get good quality vintage Revere Ware cookware these days to fill-out one’s collection or replaced a lost or damaged piece. Some time ago we created a site to categorize all the listings for Revere Ware on Ebay (www.revereware.org). The number of revere ware listings on Ebay continues to grow, as evidenced by our tracking of the number of pieces available over the last two years.
(We had a small bug that kept us from recording numbers above 1,000, which is why the top of the graph is flat.)
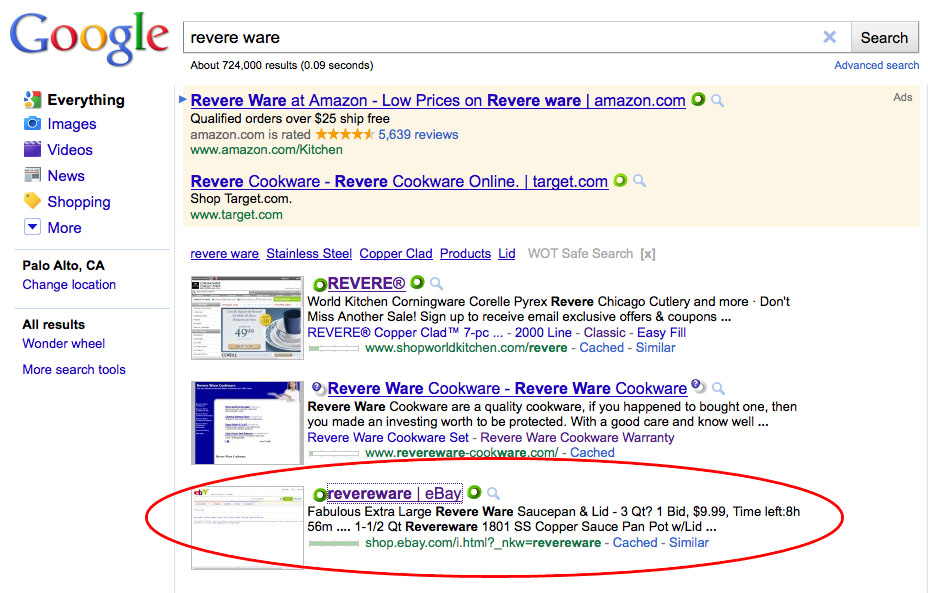
Ebay seems to have made some recent changes that make it easier to find Revere Ware (and probably many other) items. First, when searching on “revere ware” Ebay now includes results from “revereware” (i.e. no space) as well. This is helpful as items are often listed in as one or the other but not both. Second, Ebay searches for keywords like “revere ware” now show up in Google results.
Prices, then and now
I recently came across a Revere Ware replacement parts order form from 1950. I’ve often wondered how our prices compare with what Revere Ware charged for parts back in the Revere Ware heyday, and this price list gave me a good opportunity to compare 1950 prices + inflation with our prices today.
Pan handles were $0.60 for the handle, hardware set, and hanging hook. The official government inflation statistics (consumer price index) since 1950 peg todays prices at 9.09 times prices in 1950, which mean a replacement handle in 1950 cost $5.45 in 2010 dollars. We sell them for $9.99. Given that Revere Ware was a huge company that produced millions of parts per year, it isn’t surprising that they could sell them for less than we do.
But for other parts, the disparity is considerably less:
Replacement gaskets for the vintage 4 quart pressure cookers were $0.75 in 1950, or $6.82 in 2010 dollars. We sell them for $9.99.
Lid knobs were $0.25 in 1950 or $2.27 in 2010 dollars. We sell them for $2.99.
Hardware sets were $0.35 in 1950 or $3.18 in 2010 dollars. We sell them for $2.99.
Not a bad deal.
Why isn’t there a screw for the knob on my lid?
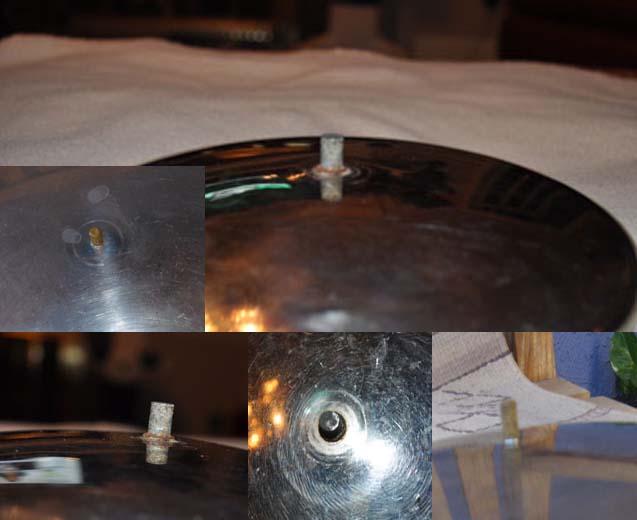
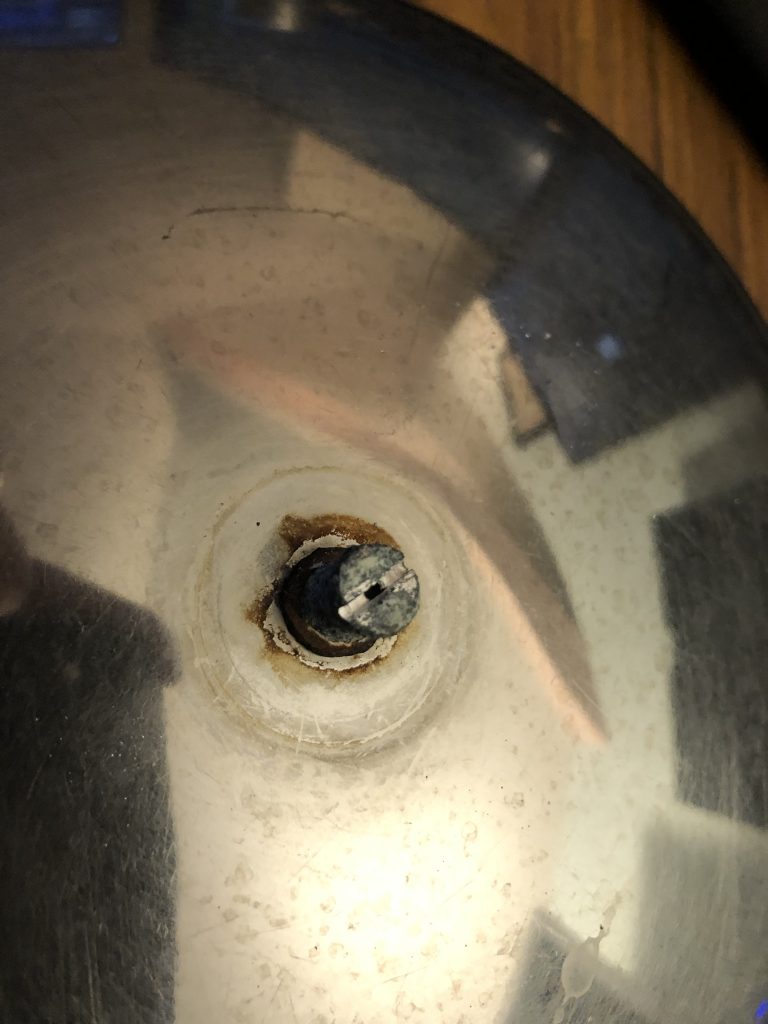
One of the most common questions we get from customers is related to their lid not having a screw, but what appears to be a stub of some kind.
Over the years, as evidenced by the many differently constructed lid knobs we have come across, Revere Ware has used no threaded insert in the lid knobs (threads are part of the Bakelite) and threaded inserts of various types of metal, such as aluminum, brass, and possibly others.
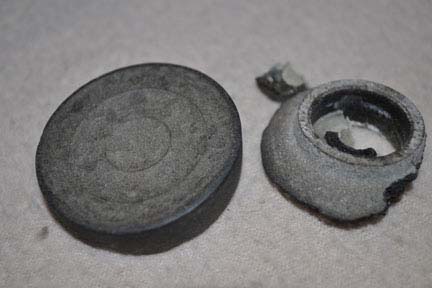
The problem is that after years and years of use, the metal inserts often rust to the screw on the lid knob and the knob will either disintegrate when you try and take it off, will fall off leaving the insert behind, or when you try to unscrew it, the insert will stay attached to the screw. What is left looks like this:
The stub can also appear black as there might be Bakelite attached to it.
Some customers inherited a lid looking like this and others just assume that the knob is glued on to this stub and when they receive ours, with a threaded insert, think they’ve received the wrong kind of knob.
If you grab the insert with pliers and unscrew it, it will usually come right off, revealing the screw. If the nut insert doesn’t want to budge, try squirting some WD-40 at the crack where the nut comes close to the lid and letting it sit for a while. Heating the lid slightly at the point of the knob screw from underneath (such as placing it over a low gas flame) might also help loosen a stubborn nut and screw.
In some cases, perhaps one out of four, the rust bond will be too strong and the screw will break off. If that happens, here are instructions for attaching your knob with a separate screw.
Update: Reader Rick posted this helpful suggestion (below):
If the knob has already broken away from the insert, and the threads in the insert are too corroded to remove from the stud, you can to to step 2.
1) Using a hacksaw, carefully cut right down the center of the knob until you reach the insert. Do a second cut at right angles to the first. Using two flat bladed screw drivers at opposite sides of a cut line, pry the knob and it will crack and fall away from the insert. Not very much pressure is required.
2) Again with the hacksaw, carefully cut a slot in the center of the insert until you reach a void spot in the center of the insert. The void is there because the stud does not go all the way to the end of the threaded portion of the insert. Spray or drip in some penetrating oil, and let sit for a few hours. Try removing the insert with a pair of vice grips. This has worked perfectly a number of times for me.
Reader Fred posted a picture of his nut insert after using the hack saw.
Revere pressure cooker DIY
When parts for your favorite piece of cookware are no longer available, sometimes a little do-it-yourself repairs are necessary.
Problem: The first few years of the vintage Revere Ware pressure cooker had a gauge rather than a dial. At the bottom of the gauge sits a gasket, which over decades of use and life, gets dry and brittle and stops working, allowing steam to escape, which provides a false reading on the gauge lower than it should.
Solution: Making a new gasket from some high temperature silicone rubber.
This problem was brought to my attention by a customer who had the problem, and when I opened up my pressure gauge, sure enough, my gasket was beyond repair as well.
I was able to find some suitable material in the form of a silicone baking sheet, which sounded promising as it was specifically intended for high temperatures and was a food grade silicone. While the original gasket measured about 3-4/100th of an inch, the silicone baking sheet came in at 6/100th of an inch, a difference I hoped wouldn’t matter.
The original gasket was pretty well attached to the metal, but I was easily able to scrape it off with 1/2 of a pair of wooden chopsticks, a soft material so as not to scratch the metal surface and create grooves that might break the seal.
To form the gasket, I pressed down on the silicone sheet with the top of the gauge, which left a nice mark and cut it out with scissors. I used an apple corer to cut out a hole on the inside. To create the holes, I sandwiched the gasket between the gauge and the bottom plate and marked them with a small screw driver, and then opened them up with a drill bit.
As you can see, it is crudely shaped, but a good enough fit to make a seal.
The drill bit left imperfectly small holes that were a bit hard to get the screws through, so to put on the gasket, I first laid it on the bottom plate and threaded the screws through, and then placed the top piece on and screwed them down.
While the gasket is slightly thicker than the original, the screws were easily long enough to hold tight.
A quick pressure test showed the gasket to hold without any problems.
Customer John took a slightly different approach, and went to a shop called Great Western Seal & Gasket (didn’t know places like this existed) and had them punch a suitable gasket out of appropriately sized silicone rubber and then bought a small punch from them to create the screw holes. I’m sure his looks much prettier than mine, but they both work fine.
Vacation
Our shipping will be closed for vacation from Friday, January 14th, through Sunday, January 23rd. Any orders placed after 12 noon on Thursday, January 13th will not ship until Monday January 24th.
You can still place orders during that time, but shipment will be delayed.
