Today’s blast from the past is a reminder that anything can be fixed if you want to fix it bad enough.
This customer was faced with a sauce pan that required a handle type we don’t carry, and the handle spline was broken off to boot.
Sauce Pan Handle Project
This project involved putting a “Large” sauce pan handle on a “broken” handle stub of an early model Revere Ware 7” sauce pan.
The Problem :
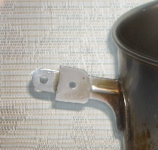
Before: This “early” model sauce pan had a broken handle bracket.
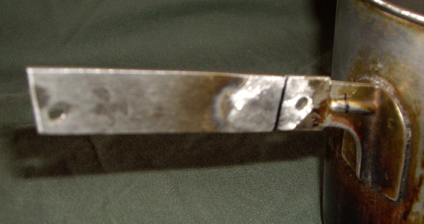
After: Welding approx. 3” of ¾” x.065” stainless steel strip to the handle .
This is the finished handle fix –
Note: The original -early model- right tab was wider than ¾” and had to be ground away to match the ¾” wide stainless strip added to fit the ¾” wide handle niches.
Note: The dimensional detail of the added piece was accomplished by creating a piece of light cardboard that fit the handle recesses and then transferring that to a thing piece of sheet metal and from that, it was transferred to the stainless piece for the handle. .
Left Side Detail:
Left Side A. The Left Side tab was basically unchanged. However, we did weld the left tab to the new handle material for the purpose of strengthening the entire handle system.
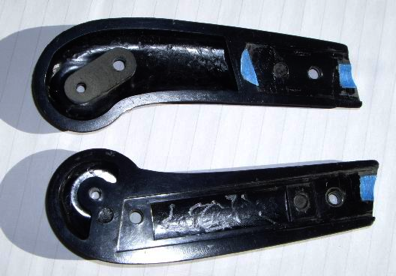
Left Side B. Blue Tape indicates the area of bakelight removal in the handle halves.
Note: The black marker over the original strengthening rib where the handle is attached to the pan. This rib interfered with the handle and therefore required some relieving of the handle with a Dremel tool to get clearance and allow the seam of the handle halves to mate up without a crack between them. ( See Blue Tape – Above )
Left Side C.
Also the left side handle had to be relieved ( notice the semi-circle of blue tape ) and some of the handle cut away where the Tab was welded to the new handle material.
( See Blue Tape – Above )
Right Side A.
The right side tab of the handle required the Tab be ground away so it was only ¾” wide to match both the new handle extension width and the bakelite handle niche. Also bakelite had to be removed at the front of the handle where the strengthening rib interfered with the handle fitting flush to the tab.
( See Blue Tape — Above )
Right Side A.
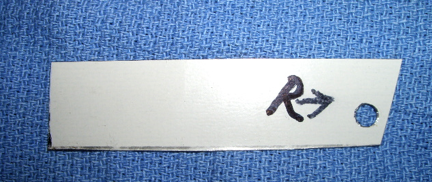
This piece of .040” thick x ¾” wide thick sheet metal was cut to fit the handle and used as a pattern for the shearing of the stainless piece that was .065″.
The stainless piece was then welded to the handle and ground flush. Then the hole for the hanging ring was drilled after the handles were mounted and fitting well. The result is below. ( The black line being the weld joint area. )
The Finished Pan….
The project was not all that involved and went quite smoothly. Sheet metal snips, Dremel tool, bench grinder, files, dial calipers, vice and drill were the home shop tools involved. I did take the stainless strip to a metal shop for shearing and welding.




No comments yet.